How to customize your Shopify theme to make it look authentic and match your business logic? Here, we explore various ways of Shopify customization and offer actionable tips for changing your theme to align with your preferences.
TL;DR: Key points of Shopify customization
The ways to customize a Shopify theme:
using Theme Editor settings
editing theme code
adding apps
using Shopify CLI for advanced customization.
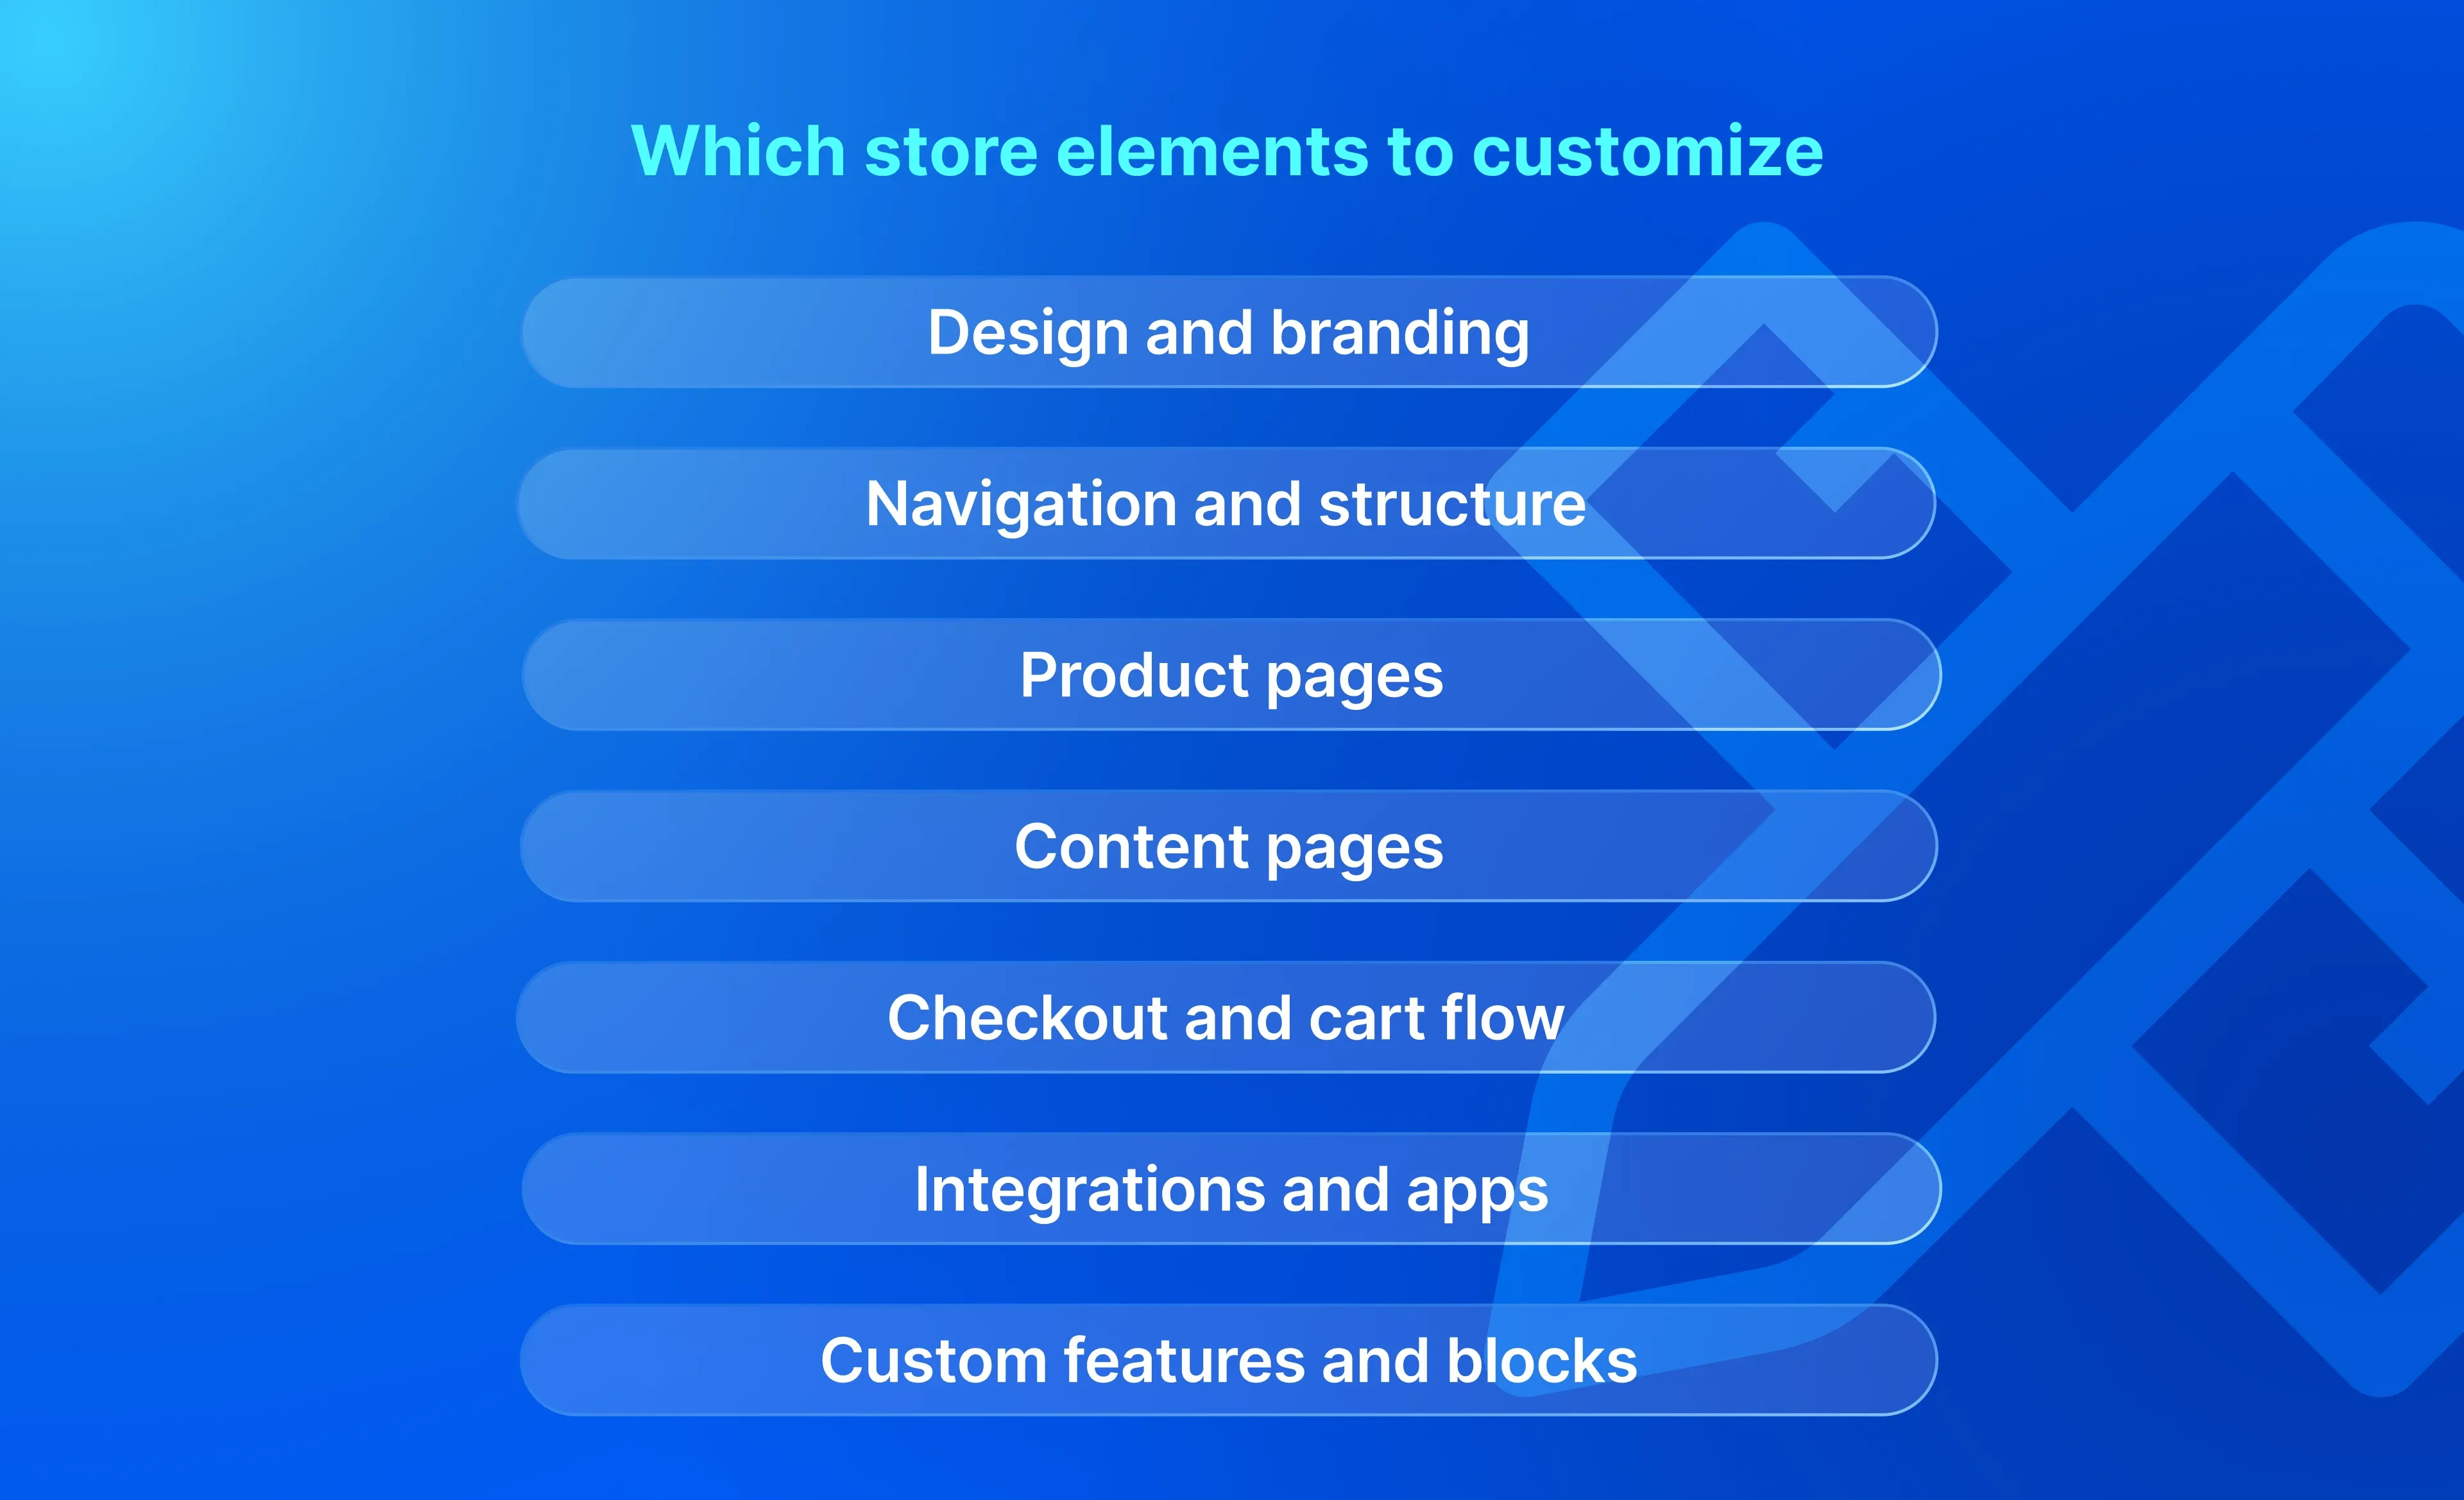
The elements you can customize in a Shopify theme include:
design and branding
navigation and structure
product pages
content pages
checkout
integrations
features and blocks.
Best Shopify customization practices:
Have a clear customization strategy
Duplicate your theme before changing it
Start with theme settings and apps, then proceed with coding
Test your theme on different devices
Document changes and monitor their impact
What is Shopify theme customization?
Shopify customization is the process of adjusting your store design to match your brand identity and your desired customer experiences across pages. Customization is an indispensable part of Shopify store setup, though the level of Shopify theme customization can range from minor style changes in pre-built themes to building a completely custom theme.
Pre-built vs custom Shopify themes
Shopify comes with over a hundred pre-built themes in the Shopify Theme Store and thousands of third-party themes and templates on external marketplaces, such as Themeforest. But using a theme out of the box, without making any changes, carries a risk that your store will look like one out of many. On the other hand, opting for Shopify theme development to create a fully custom theme could be overkill if you’re starting out or planning to build a simple store.
Check our article for tips on how to choose between custom and pre-built themes based on your business specifics.
Shopify theme customization is a golden mean between these two extremes that lets you add tailored styles and elements to a pre-built theme without the need to develop it from the ground up. Choosing the right pre-built theme for customization, though, makes your further journey much smoother. To make a choice, you need to understand in advance which elements and features you’ll have in your store, and which themes in your industry perform best and scale well.
You can rely on the latest free and premium Shopify Horizon themes released in Shopify Summer ’25 Edition that are built using the latest Shopify advancements. If you’re looking for a specific theme in your niche, check top lists like the best Shopify themes for jewelry stores and top themes for the clothing industry, carefully selected by DigitalSuits’ Shopify experts.
Types of Shopify website customization
You can choose between different approaches to customize a Shopify theme based on your technical capabilities and business requirements.
Quick style changes like adjusting fonts and colors to be consistent with your brand identity and adding your unique banners and images can be done using Shopify Theme Editor. The editor is available on the Shopify Basic plan and higher. See more details about Shopify pricing.
Editing theme blocks without coding is the next level of customization that lets you change your store layout using the Shopify Theme Editor. You can add or remove sections, theme blocks, and elements to make your layout relevant to your goals.
Adding Shopify and third-party apps lets you extend store functionality with features not included in the theme itself, such as customer reviews and product ratings. You can even use third-party services to build your store layout, such as the PageFly builder that integrates with your Shopify theme.
Hiring Shopify developers for advanced customization lets you build custom layouts with extended functionality by operating with Liquid code, Shopify app extensions, and APIs. With proven developers and Shopify web designers, you’re also more secure from breaking something in your store. Plus, you have no headache dealing with all the complexities of the Shopify ecosystem.
How to customize a Shopify website: Theme Editor and coding
Next, we reveal how to technically approach Shopify theme customization using the tools and methods described above.
Customizing Shopify themes with Theme Editor
Once you’ve chosen a pre-built Shopify theme, you can proceed with its customization right from your dashboard using Shopify Theme Editor. However, before making any changes, duplicate your existing theme.
Head to Online Store → Themes, and click Actions → Duplicate next to the theme name. Introduce all the changes to the duplicate. This way, you can always roll back to your original theme if you’re unsatisfied with the outcome.
To start customizing your Shopify store, go Admin → Online Store → Themes, then click the Customize button.
This will take you directly to the Theme Editor, where you can change the header view, add logos, reorder sections, add new blocks, and more.
At the top of the editor, you can choose pages you want to customize – homepage, products, collections, cart, etc. In the left menu, you have three categories: Sections, Theme settings, and App embeds.
Sections. Here you can edit your theme’s layout from the header to the main template and footer. Each section contains elements you can edit, such as banners, texts, and buttons.
Theme settings let you add logos, colors, typography, and styles to multiple elements, such as product and blog cards, badges, and popups.
App embeds let you add extra functionality to your pages using apps. For example, if you use Klaviyo on Shopify as your review app, the activated app embed will add the review section to your pages.
In the upper-right corner, you can toggle between desktop and mobile views to ensure your store looks great on any device. If you have doubts about how to customize a Shopify store, you can ask the Shopify AI assistant, Sidekick, for help. Based on your prompt, the assistant will guide you on how to solve your problem and provide additional information from Shopify's documentation.
To extend functionality with apps, find the necessary tool via search in your admin or in the Shopify App Store. You can choose Shopify-native apps, such as Shopify Forms or Shopify Email, or third-party apps, such as Klaviyo or Afterpay.
Do you know which apps are essential for your theme? Check our article about must-have Shopify apps for any store.
Advanced Shopify store customization with coding
If pre-built theme functionality is not enough for your purposes, consider editing the theme in its core, adding scripts or Liquid code, changing its functionality with metafields, and more. If you have technical skills, you can edit Liquid, CSS, and JavaScript code directly in Shopify Admin: Online Store → Themes → Edit code. For more profound changes, you need to use Shopify CLI and a local development setup.
To make changes that require in-depth technical knowledge, you need a proficient Shopify development agency that can help you with many things, such as:
Creating conditional logic for discounts, bundles, and more
Displaying custom labels and badges
Adding size charts to product pages
Extending theme templates with custom code
Integrating third-party services via APIs
It’s not a complete list of what can be done with Shopify development expertise since customization here goes far beyond just styling. You can even leverage Shopify headless solutions to decouple the backend and frontend for greater flexibility and implement interactive features and AI-powered chatbots.
What to actually customize in your Shopify store
Which elements should you exactly consider customizing in your store? Let’s review every part in detail.
Design and branding
The visual layer of your store shapes the first impression visitors get when they land on your pages. Align visual elements with your brand guidelines and stay consistent across pages using the same color palette, logos, typography, and button styles.
Checklist of essential elements:
Company logos and favicons
Consistent and contrasting color palette
Typography with hierarchy levels
Homepage layout, including hero banner, featured products, and trust section
Images and banners showcasing products or brands
Buttons with clear calls to action
Animations and micro-details like hover effects
Navigation and structure
Having a confusing structure and navigation, even with a great store look, may cause bounces since it’s hard for customers to find what they need. That’s why it’s crucial to customize your Shopify store navigation to align with your product catalog and website categories.
Checklist of essential elements:
Simple main menu with up to 5-7 top links
Mega menu and dropdowns to organize categories
Footer menu with quick links to About, FAQ, and Policies
Collection hierarchy that defines parent and sub-categories
Breadcrumbs to improve navigation and Shopify store SEO
Filters for size, colors, and materials
Search bar, including predictive search suggestions
Product pages
Product pages attract the majority of traffic and drive conversions, since that’s where customers make purchase decisions. The primary purpose in terms of customization is to showcase your products' uniqueness and provide customers with an easy way to choose and add items to the cart.
Checklist of essential elements:
Product descriptions with a focus on benefits for customers
High-quality product images (4-6 per item)
Videos and 3D models to showcase the product from different angles
Price display with information for tax and shipping
Product variant selectors to choose the right color or size
Add-to-cart buttons, highlighted with a distinct color
Trust signals, such as customer reviews and a money-back guarantee
Upsells and cross-sells, such as product bundles and recommended items
Need a guide on how a great Shopify product page should look like? Read our article about the anatomy of a high-converting product page.
Content pages
Storytelling builds trust and loyalty to your brand, and pages like About Us and FAQ are exactly the spaces to tell your story. In contrast, Policy pages provide clarity on your store's payment and delivery procedures. In addition, you can add blog articles to attract organic traffic and educate your customers about your products.
Checklist of essential elements:
The About Us page that shares the brand story and mission
Contact page for making communication easy
FAQ with answers to top questions
Blog with keyword-driven content and interlinking to products
Policy pages for transparency
Checkout and cart flow
Your main purpose at checkout is to reduce abandonment rates by making the buying process as simple as possible. Minimize the steps and adjust the checkout process to your business specifics.
Checklist of essential elements:
Cart drawer or a separate cart page
Edit and remove options to change product quantity
Shipping calculator to avoid surprise costs
Discount code or promo code field
Popular payment methods with extra options like Afterpay
Thank You page to add post-purchase offers
Integrations and apps
The Shopify App Store offers multiple apps that let you add almost any desired feature without coding. However, too many apps may lead to store slowdowns that break user experience. So you need to audit your apps and remove overlapping ones regularly.
Checklist of essential elements:
Reviews and social proof using apps like Yotpo
Email marketing using apps like Klaviyo
Analytics tools and heatmaps like Hotjar
Loyalty and referral program apps like Smile.io
If you’re just starting, pay attention to the free Shopify apps compiled in our recent article.
| Ready for more? Get a FREE guide with the best Shopify apps in 11 categories for any purpose – 5 apps in each category, 4 stars minimum. |
|---|
Custom features and blocks
Once your store is set up and works smoothly after customizing its critical parts, you can add custom features and improve your store functionality and appearance further.
Checklist of essential elements:
Custom sections and blocks to reuse them across the theme
Metafields for adding specialized product information
Custom scripts for adding unique features like pop-ups
API integrations for connecting ERPs, CRMs, and more
Multilingual and multicurrency setup for international selling on Shopify
When customizing your store, you should also focus on performance optimization by implementing techniques such as lazy loading, CSS minification, and reducing file sizes. In terms of SEO and GEO, pay attention to structuring data, cleaning URLs, and adding the llms.txt file to help AI tools like ChatGPT correctly interpret your content.
Best practices for Shopify customization
Following the best customization practices will prevent you from making mistakes that cost you time and money.
-
Start with a clear customization strategy, defining the elements and features you want, and aligning your requirements with the existing theme’s functionality.
-
Duplicate your theme before editing and use version control with Git to easily roll back whenever you need.
-
Customize your theme through Shopify Theme settings first if you’re not into radical changes.
-
Extend functionality with Shopify apps and integrations before creating custom code to add new features.
-
Follow Shopify theme customization standards, avoid heavy scripts, and validate Liquid code before publishing.
-
Use Shopify speed optimization techniques, such as image compression and lazy-loading, to improve theme performance.
-
Test your store on different devices with Shopify preview mode when making code changes or adding/removing apps.
-
Document all changes you make and use analytics to see how each change affects user behavior and store metrics.
How DigitalSuits can help with Shopify customization
If you’re looking for a reliable Shopify development team to customize your theme in line with your business needs, the DigitalSuits team is here to help. We are a certified Shopify Plus Partner with extensive ecommerce expertise and a proven track record of successfully accomplished projects.
These are some of the results we’ve helped our clients achieve:
We helped Cheeky revamp their Shopify Plus store with custom PDPs and UX improvements, resulting in a 161% increase in website speed.
Our team enhanced the website design and implemented smart navigation for Wicked Cushions, resulting in a 30% increase in conversions.
LunchBox Packs improved their site performance by 50% and boosted conversion by 38% thanks to Shopify theme updates and new features implemented by our specialists.
Want to join the companies that reap the benefits from professional Shopify development? Don’t hesitate to contact us for a consultation and a project estimate.
Frequently asked questions
How to edit a Shopify theme without affecting my current store?
You can safely edit your theme by duplicating it and making changes in this duplicate, or by using another unpublished theme. Your store will remain live without any changes while you complete all customization. Once everything is set up and tested, you can publish your new theme instead of the existing one. Need help launching your custom theme? Get in touch with the DigitalSuits team.
What should I do if my custom code breaks the theme?
In case your theme doesn’t work properly after adding some code, you need to revert it to the previous version or restore the theme backup. Shopify’s theme version history will come in handy to undo recent changes. If nothing works, don’t hesitate to contact our team to find a solution.
Will theme updates overwrite my customizations?
Yes, theme updates can overwrite your Shopify theme modification, especially if you make changes to your core theme’s file. To avoid losing your edits, customize the duplicate theme or make changes in a development store.
How often should I update my Shopify theme?
You need to update your theme every few months or whenever theme developers release major updates. This will ensure your theme supports the latest Shopify features, security standards, bug fixes, and performance enhancements. If you want to avoid all the headaches related to Shopify theme customization, get in touch with our team.
When should I hire Shopify developers for theme customization?
You need to hire Shopify developers to customize your theme in multiple cases:
You’ve tried to set up your store yourself, but your theme isn't working correctly.
You lack the time to handle all the aspects of your theme.
You need advanced customization beyond the Theme Editor's capabilities.
Your store requires custom Shopify integration through APIs.
You need specialists to optimize your theme performance and ensure Shopify maintenance.
You want to build a custom Shopify theme from scratch.









Was this helpful?
0
No comments yet